How to Run Multiple Claude Code Agents in Parallel
The safest way to run multiple Claude Code agents in parallel is to give every independent task its own Git worktree. Claude Code can create those worktrees itself. Agentastic adds the operating layer around them: repository setup, a status view, native terminals, container isolation, browser verification, diff review, and a clean path to a pull request.
This guide shows both workflows so you can choose the smallest tool that solves your problem.
The short version#
| What you need | Best starting point |
|---|---|
| Two isolated Claude sessions and no additional UI | claude --worktree <name> |
| Claude-only parallel sessions in a desktop app | Claude Code Desktop with the worktree option |
| Full control over branches and directories | Manual git worktree add plus one terminal per task |
| Several agents, repeatable setup, review, browser testing, or mixed providers | Agentastic workspaces |
| Stronger runtime isolation for databases or system packages | Agentastic container mode |
Anthropic's official worktree guide documents the --worktree flag, .worktreeinclude, cleanup, and subagent isolation. Its broader parallel agents guide compares subagents, agent view, agent teams, dynamic workflows, and projects, and when to pair them with worktrees.
Why separate terminals are not enough#
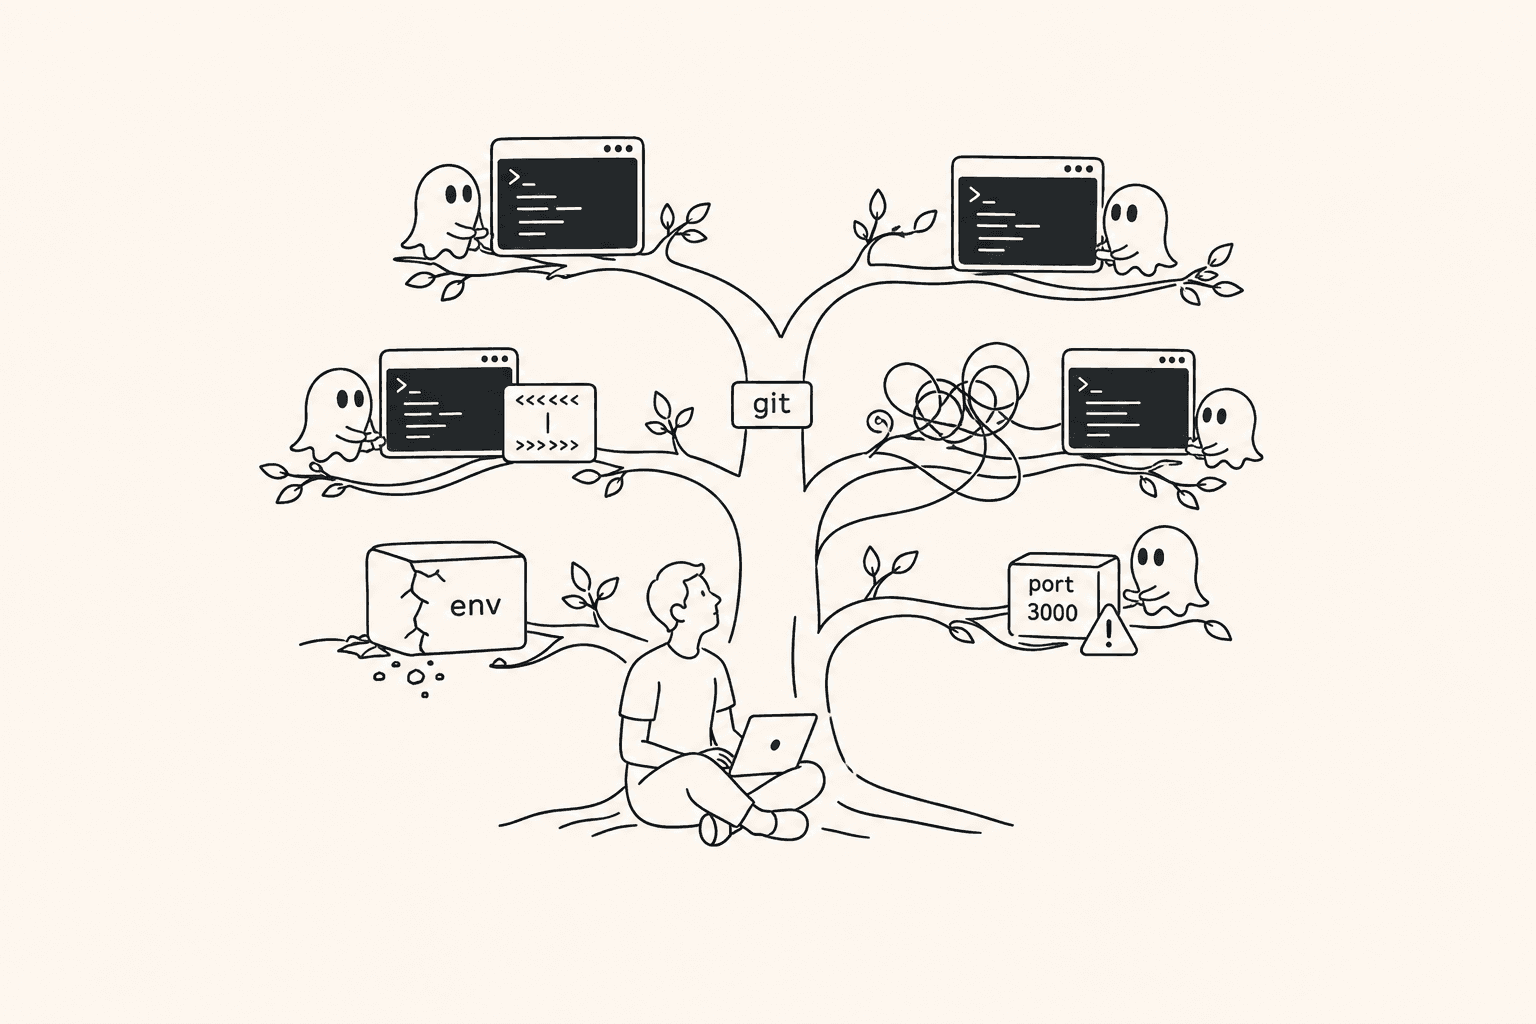
Two terminal windows pointed at the same repository still share one working directory. The sessions can overwrite the same uncommitted file, invalidate each other's build output, compete for the Git index, and start services on the same port.
A branch does not fix that by itself. A branch is a Git reference; a worktree is a separate directory. With one worktree per task, each Claude session has its own files, untracked state, dependencies, build artifacts, and diff.
That changes the failure mode. Two agents may still produce changes that conflict when you merge them, but they cannot silently corrupt the same live checkout while they work.
Option 1: use Claude Code's native worktrees#
From a Git repository, start one session per task:
claude --worktree fix-checkout-total
claude --worktree add-coupon-tests
claude --worktree document-refund-api
Claude creates an isolated checkout for each session, by default under .claude/worktrees/<name>/ on a new worktree-<name> branch. Run claude once in the repository first to accept the folder trust prompt, because --worktree won't start in a folder you haven't trusted. If the worktree needs ignored local files such as .env.local, add the paths to .worktreeinclude:
.env
.env.local
config/secrets.json
Use this path when Claude Code is the only agent you need and you are comfortable handling repository setup, processes, review, and cleanup through Claude's own surfaces and Git.
Prefer a window to a terminal? Claude Code Desktop, the Code tab of Anthropic's Claude app, offers the same isolation: when you start a session in a Git repository, choose the worktree option next to the branch name. It isn't on by default. Our guide to the best Claude Code GUI apps compares it with third-party options.
Option 2: create the worktrees manually#
Manual Git worktrees remain the most portable approach:
git fetch origin

git worktree add -b agent/fix-checkout \
  ../store-fix-checkout origin/main

git worktree add -b agent/coupon-tests \
  ../store-coupon-tests origin/main
Then start Claude in each directory:
cd ../store-fix-checkout && claude
cd ../store-coupon-tests && claude
This gives you complete control and no extra application. It also makes you responsible for naming, dependency installation, ignored files, server ports, attention signals, diff review, merging, and removal.
Option 3: run parallel Claude Code workspaces in Agentastic#
Agentastic uses the provider CLI you already installed and authenticated. It does not replace Claude Code or proxy its model calls.
1. Verify Claude Code first#
which claude
claude --version
If it does not launch in a normal terminal, fix that before debugging another layer. See Agentastic installation for the current install flow.
2. Open the repository once#
Open the project in Agentastic and choose Agent Home. Select the repository, the base branch, Claude Code, and Worktree mode.
Keep each task bounded. A useful prompt names the outcome, constraints, and verification command:
Fix the checkout rounding regression.

Do not change the public money API. Preserve the existing USD and EUR behavior.
Run the focused checkout test suite and explain the root cause when finished.
3. Launch one workspace per independent task#
Create separate tasks for work that can land independently:
fix-checkout-roundingadd-zero-coupon-testsupdate-refund-docs
Agentastic creates a worktree and branch for each task, runs the repository setup script, starts Claude Code in a native terminal or Chat transcript, and keeps the session attached to that workspace.
You can also select multiple instances in Agent Home when you intentionally want several attempts. For unrelated work, separate prompts are usually easier to review than sending one large prompt to every agent.
4. Prepare every worktree automatically#
Put repeatable setup in .agentastic/setup.sh:
#!/usr/bin/env bash
set -euo pipefail

if [ -f "$AGENTASTIC_MAIN_REPO_PATH/.env" ] && [ ! -f .env ]; then
  cp "$AGENTASTIC_MAIN_REPO_PATH/.env" .env
fi

if [ -f package-lock.json ]; then
  npm ci
elif [ -f pnpm-lock.yaml ]; then
  pnpm install --frozen-lockfile
fi

echo "Ready: $AGENTASTIC_BRANCH"
Make it executable:
chmod +x .agentastic/setup.shThe script runs from the new checkout and receives the branch, repository, worktree path, base branch, and commit as environment variables. Keep it idempotent so you can safely rerun it. The complete contract is in Setup & Teardown Scripts.
5. Monitor attention, not terminal noise#
The Agents navigator shows which sessions are running, waiting for input, finished, failed, or ready for review. Agentastic routes supported Claude lifecycle events into its attention system, so an approval request does not disappear in a background terminal.
Use Shift-Command-U to jump to the next agent that needs attention. See Notifications for the event model.
6. Verify each workspace independently#
An agent saying "done" is not evidence. For each result:
- Read the test output.
- Inspect every changed file in the built-in diff.
- Run the focused test yourself when the change matters.
- Start the worktree's development server.
- Use the built-in browser or
dev browsercommands to verify UI behavior. - Run a fresh Claude, Codex, CodeRabbit, or Greptile review when appropriate.
Agentastic's code-review workflow can launch multiple independent reviewers against the same captured diff.
7. Merge one result at a time#
Push the branch and open a normal pull request:
git push -u origin fix-checkout-rounding
gh pr create --fill
Reviewing and merging sequentially is usually safer than merging three related branches at once. Rebase or update remaining worktrees after an upstream merge changes their assumptions.
What should run in parallel?#
Good parallel tasks have small overlap:
- Tests for separate modules.
- A bug fix and unrelated documentation.
- Independent endpoints.
- Several solution attempts where you intend to keep only one.
- Research, implementation, and review when only one agent edits the final branch.
Keep these sequential:
- Two refactors of the same central type.
- A schema migration and code that depends on its final shape.
- Several agents editing the same generated file.
- Work that needs a shared, mutable development database.
The practical limit is your review capacity. If completed diffs accumulate faster than you can validate them, adding more agents decreases throughput. Parallel sessions also multiply token usage, so track your Claude Code usage and limits as you add agents.
When to use containers instead of worktrees#
Worktrees isolate repository files. They do not isolate host processes, credentials, package caches, ports, or external services. Use Agentastic's container mode when a task changes system packages, runs untrusted tooling, needs its own services, or should have a tighter network and mount policy.
Start with one clean loop#
Run one bounded Claude task through create, setup, execute, verify, review, merge, and cleanup. Then add a second independent task. Parallelism is useful only after each individual workspace is reproducible.
Download Agentastic for macOS or follow Your First Agent for the complete first-run path.
Sources and further reading#
- Run parallel sessions with worktrees — Claude Code
- Run agents in parallel — Claude Code
- Git worktree documentation
- Multi-Agent Programming — Agentastic Docs
- Git Worktrees — Agentastic Docs
Frequently asked questions#
Can Claude Code run multiple agents in parallel?#
Yes. For independent tasks, give each Claude Code session its own Git worktree with claude --worktree. Within one session, Claude can also delegate to subagents, and Anthropic documents agent view and agent teams for coordinating several sessions.
How do I run multiple Claude Code sessions at once?#
Start each in its own worktree: run claude --worktree with a different name per task, create worktrees with git worktree add and run claude in each, or use the worktree option in Claude Code Desktop. Agentastic does the same per task from Agent Home and adds setup, status, and review.
Where does claude --worktree put the worktree?#
By default in a folder named after the worktree under .claude/worktrees/ at the repository root, on a new branch with the same name and a worktree- prefix. For example, claude --worktree fix-auth creates .claude/worktrees/fix-auth on the branch worktree-fix-auth. Add a .worktreeinclude file to copy ignored files such as .env into each new worktree.
Can two Claude Code terminals work in the same folder?#
They can, but they share one working directory, so they can overwrite the same files, invalidate each other's build output, and compete for the Git index and dev-server ports. Give each session its own worktree instead.
How many Claude Code agents should I run in parallel?#
As many as you can review. If completed diffs pile up faster than you can validate them, adding agents lowers throughput, and every extra session also adds to your token usage.
Do I need a separate app to run Claude Code in parallel?#
No. Claude Code can create worktrees itself. A workspace such as Agentastic helps when you also want repository setup, a status view, containers, browser verification, diff review, or other providers alongside Claude.